Picture in a Jar

Posted By: Kristi

Don't weekends just seem to fly by? Most Mondays aren't the most exciting to me but today is Halloween and my kiddos (dogs) LOVE Halloween so I am a pretty happy girl today. Oh, by the way...

HAPPY HALLOWEEN!! = )

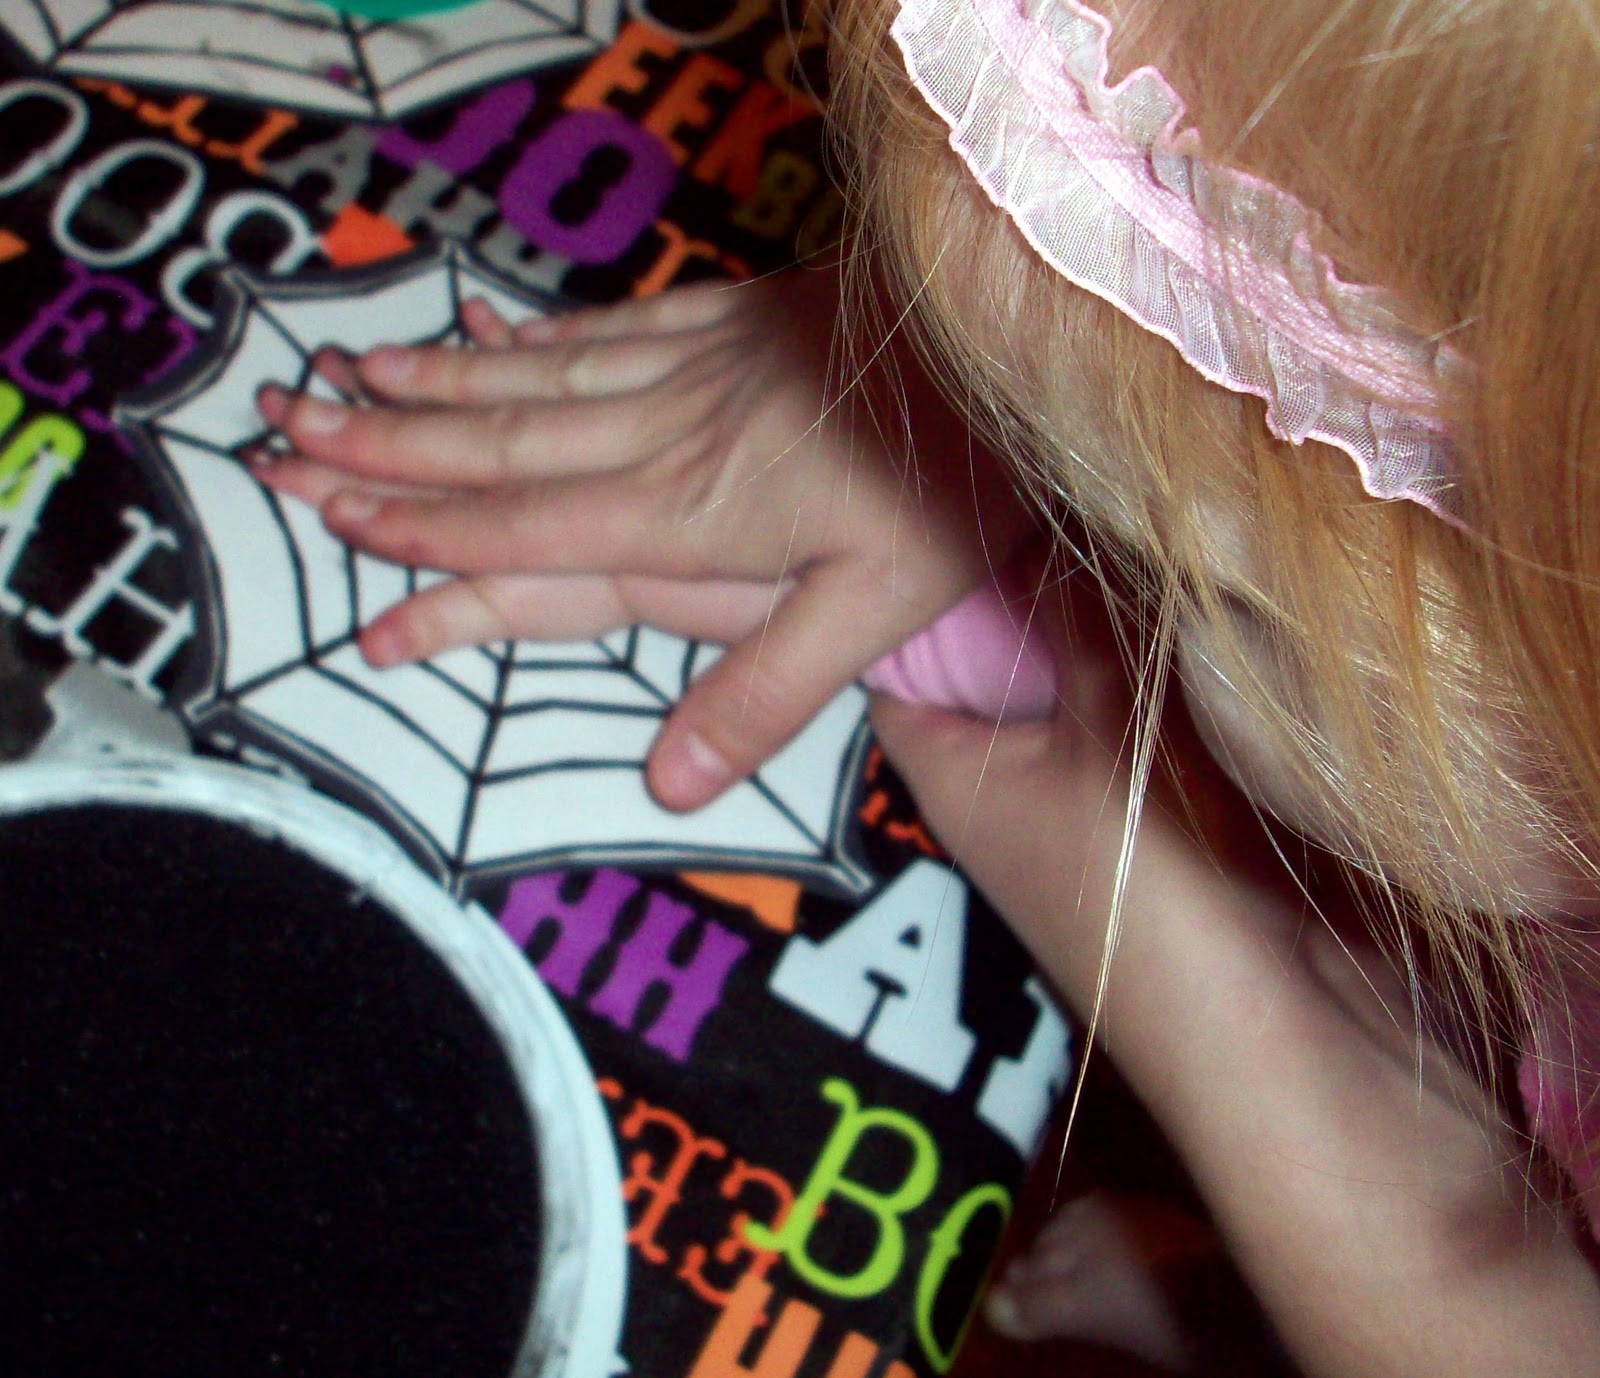
Tonight we will dress our doggie babies up (believe me, they love it! We aren't torturing them) and pass out candy to the trick or treaters. Miss Lou and her mom and dad will also be stopping by. Here is Little Lou last year.


As you can tell, she wasn't too thrilled. The costume didn't last long because we all felt bad for the tired little hot dog. Tears and all she was CUTE as always!

Our babies...


Hopefully you all have fun plans for tonight as well. 

This weekend I spent studying for a test I have coming up and went to a family get together. I also took a short break from studying for a little project. I had a small jar laying around that I wanted to use for something, I decided to use it to hold a picture.  I cut a picture I had to fit in the jar.


Oops, not the straightest cut but you can't tell when your done. Promise. = )
I then placed the picture inside the jar.


Once the picture was in the jar, I added olive oil and closed it.


It's tiny, cute and a fun way to frame a picture. I first saw this on Pinterest, done with a large jar and picture.

 This took me less than five minutes and would have been even faster if I wasn't taking pictures along the way.

Did you do any projects this weekend? Anything Halloween related?

Have a fantastic Monday!


Hand Print Spider in Web

Posted By:  Stephanie


Hello!  I hope everyone is enjoying their weekend, we sure are!  Today we went to our cousin's 4th birthday party which was also a costume party for the kids, and us adults joined in too.  My cousin Lora, birthday boys mom, came up with this fun hand print spider for the kids to do.  Little Lou wasn't into getting her hands dirty but we made one anyway, I wanted one to take home and I wanted her to go through the steps so I could show all of you!  Do you need a last minute craft for kids this Halloween weekend?  This is the one for you!


Lora drew a spider web on white paper and copied them so that she would have enough for everyone.  Next, she cut them out and pasted them onto a black piece of paper for background and to make it sturdy.


This stamp pad was perfect for this craft, I will be looking for this in more colors for other projects I'll do with my girl.  It washed off SO easy!


Push hand into stamp pad, you might also want to rub it around.  This part she wasn't a big fan of.


Make hand print going one direction on the web.


I should have made sure there was a little more ink on her hand but it did look a little darker in person.


Do the same thing with the other hand.


It will look a little something like this.


Now you get to make cute little face for this spider.  Lora cut out foam with sticky backing that you can find at most craft stores.  Here I am putting on the eyeballs for the spider.


Lou's spider doesn't have a nose, but you can do whatever you want with your spider.


Take off the backing,


and place it in the middle of the spider.


Punch holes and put ribbon through to hand it.  This one was made by my cousin Angie.


Here is Little Lou's!


Out of the 15 or so kids that were there only our girl and one other one didn't like getting their hands dirty, all the other kids LOVED it and wanted to make more than one.

Thank you Lora for a great day and for the craft we got to do and take home!

Binder Clip Photo Holders and Giveaway

Posted By:  Stephanie

* Giveaway *

Follow us publicly via Google Friend Connect on the right sidebar and be entered to win a $20 gift card to Amazon!  The winner will be randomly selected at 150 followers.  If you are already a follower you are automatically entered to win.  For instructions on how to follow click here.


Back to the Binder Clip Photo Holders:


I love when I get a few minutes to put a quick craft together.  On this rare day (yesterday) Little Lou took about a 45 minute nap which she is doing less of lately so I was able to get to work in my craft room and make binder clip photo holders.  Fun thing about this is that if you have a need for a cute binder clip you can always take the photos out and use them to hold your papers with style.


How I made my binder clip photo holders:


First I measured the clip.


I happened to have three large clips to work with.  I would have loved to have jumbo clips but this is what was at our Dollar Tree, so I went with it.  Once I measured the size of the clip where I wanted the paper I cut two pieces for each clip, one for each side.


Next I got out the handy, dandy Mod Podge and a small paint brush.

*Side note - Once I finished this project I cleaned everything up and the paint brush is missing.  Like NOWHERE to be seen which is weird because my craft room is very clean and organized.  I don't get it.*


Paint a layer of Mod Podge onto the clip to use as adhesive for the paper.


Place the paper on the clip.  I followed the same steps and put the paper on both sides before continuing.


Paint a layer of Mod Podge on the top of the paper on both sides to seal it.


Here are my three clips once I finished all of them.  I let them dry for a few minutes before I put them to use.


See the picture on the right side?  That is Kristi (left) and I (right) when she was 7 and I was 5.  I just love this picture because we're wearing the bows our mom used to make us.  Memories, memories.


Speaking of memories, every time I think of Halloween after the year our little sister Samantha was a witch I always think of her in this costume that our mom made.  She was the CUTEST friendly witch of all time.  I wish my mom still had this costume so that Little Lou could wear it next year, I'll have to ask her but I think it's long gone.


I loved having pictures in my craft room while I was testing out my new photo holders so I decided to keep them in there for now along with Lou's canvas painting that she made featured in this weeks Toddler Tuesday.  I'll have to give it up when her big girl room is done but she may have to make me a replacement.


I am guest posting today over at Nap Time Is My Time, you should go over there and check out Emily's blog, she has a lot of great posts and some fun linky parties too.


Nap Time is My Time


Have a great day!

LOVE LOVE LOVE...Campaign Furniture

Posted By: Kristi

The title of the post is a total giveaway,  I LOVE campaign furniture. LOVE IT! My dad gave me my first and only piece of campaign style furniture, it was love at first sight. It is hard to tell but the table next to the chair in our dressing room is the piece my dad gave to me.


Here are some pieces I found on Pinterest that I repeatedly drool over.


I have been wondering for a while now if I could alter my entry table/shoe cabinet to look as if it was a piece of campaign furniture. It wasn't until the other day when I was reading one of my favorite blogs, Little Green Notebook that I figured out how!

I went to Amazon and ordered the brass corners. They showed up in two days! I put them on the corners of my furniture with sticky putty to see if I liked them, I didn't want to add the screws until I was sure.


I am very happy with the results and now that I am sure, I will screw them into place.
I am also considering putting them on the corners of my Ikea wall shelves.


I like how they dress them up a bit but I am still not totally certain. I am not a matchy matchy girl but I am a little obsessed.

If you even see a good deal on campaign furniture in the Portland area, you know who to tell. ; ) Pretty please.


Toothbrush Bracelet

Posted By: Kristi


It feels like forever since I had a project to share. Finally, I had time for some crafting! When Steph and I were little we used to make toothbrush bracelets. I remember making a TON of them. We once even sold them at a craft bazaar and had a lot of fun doing it. I haven't heard of anyone making these in a long time but for some reason the memory of making them came to me the other day and I thought making one sounded like fun. I took some pictures as I went so that if you wanted, you could give it a try too.

You will need to buy some toothbrushes, one toothbrush per bracelet that you want to make.


These are really fun to make with the little kid toothbrushes that have characters on them or are all sparkly. Unfortunately, the store I was at when I bought them didn't carry those.

Using needle nose pliers, remove the bristles from the toothbrush. Another bummer, I couldn't find mine so I used the next best thing. The nice thing about projects is that if you don't have a tool or supply you need you can often supplement it for something else.


Place your bristle free toothbrush in a pot full of boiling water. After about five minutes remove your toothbrush from the water with tongs. 


Place your toothbrush in a towel and bend it into a bracelet shape with your hands. Don't touch it, it will be HOT!


Once you get it to shape the way you like it place it in cold water for a few minutes to harden completely.


Remove it from the water and put it on. 


This site has some awesome toothbrushes that would look amazing around the wrist.

This could be a fun gift for your dentist during the holidays. You could wrap it up in a cute see through bag with a thank you card. A nice gesture and quick and easy to make!


Sorry for the poor picture quality. Steph and I must have the worst camera luck. Mine just broke! = (


Related Posts Plugin for WordPress, Blogger...